Smart Messaging
Smart messaging allows to communicate with users via multiple channels:
in-browser push (available for Chrome)
sms
email
messengers (Viber, Telegram, FB, VK)
Messaging can be done:
manually [ Step by step example → ]
automatically (via operations) [ Step by step example → ]
_____________________
MESSAGING SET UP
Add recepients to Objects list
Fill in objects' Name/ Phone / Email fields
For Text messaging add SMSC account
For Bots:
add bot widget
add bot to your tenant
__________________________
ADDING SMSC ACCOUNT
Each new Mobsted account has 10$ that could be spent on text messages.
If you want to continue sending out invites / notifications you should add your own SMSC account.Navigate to your Account Settings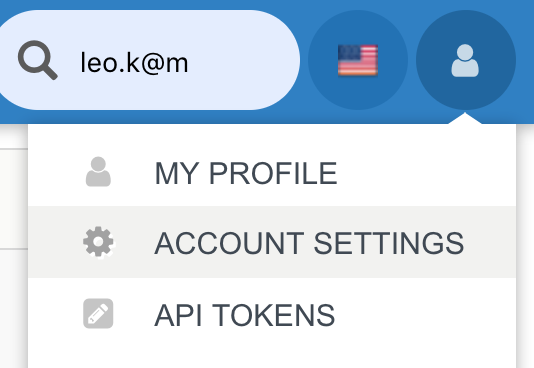
Go to Messages tab
Enter your SMSC login credentials
Click Save Changes
____________________________________
CREATING CONNECT BOTS WIDGET
Creating Widget view:
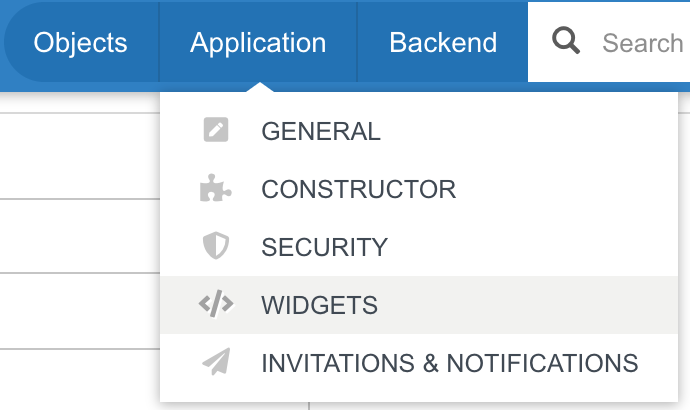
Go to Application section in the header and click Widgets
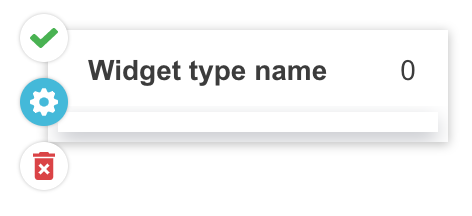
Click gear wheel icon to customize the view of the widget
Drag and Drop WBots component to widget emulator
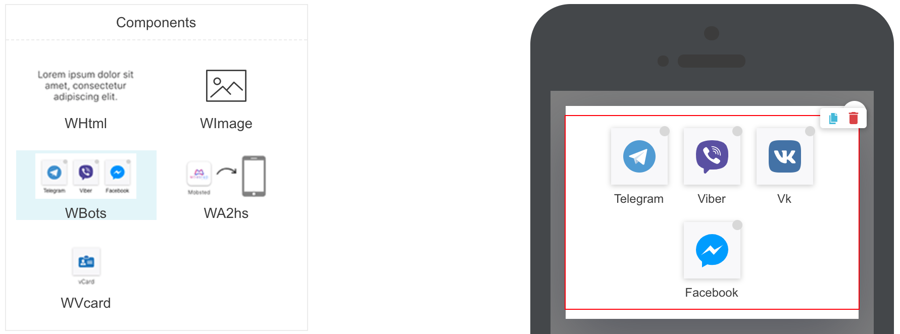
Click Edit Modal
Check Show close button checkbox is checked in Modal Properties menu on the right
Click Back button.

2. Adding Widget Scenario:
Click Add Scenario
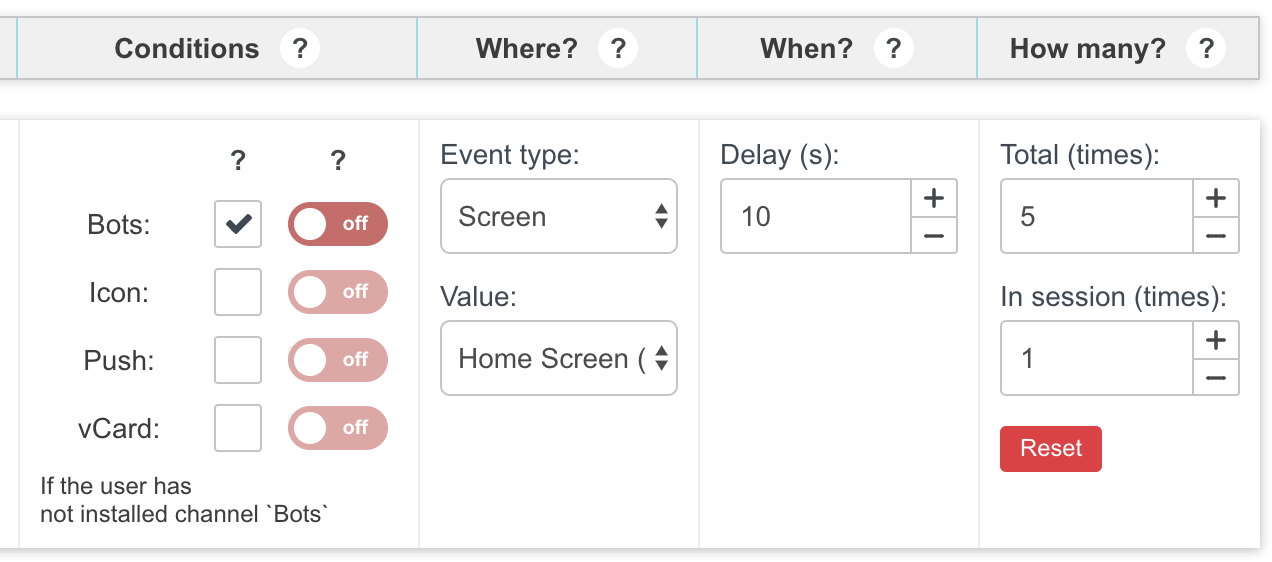
Enter Description: Add to Home Screen Widget appears on Home Screen with 10 seconds delay
In Conditions section check Bots checkbox ans set off the switcher. This is the instruction for the widget to check if user didn't connect Bots yet. Icon, Push, vCard checkboxes are unchecked, so platform will ignore them
In Where? section select:
Event type: Screen
Value: Home Screen
This is the instruction for the widget to appear on Home Screen
In the When? section type 10 as Delay. This is the instruction for the widget to appear with 10 seconds delay
In the How many? section enter:
Total (times): 5
In session (times): 1
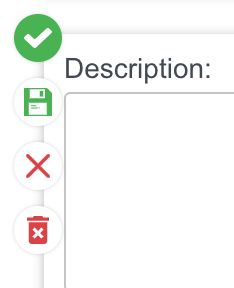
Click Check mark to save scenario.
______________________
CONNECTING BOTS
Connect bots to your tennat:
Viber set up [ Step by step example → ]
Telegram set up [ Step by step example → ]
Facebook set up [ Step by step example → ]
VK set up [ Step by step example → ]
Note: if you have several bots connected the message will first go to the last one which has been used.
Note: To start sending messages to a user - users has the added the bot and reply back to your initial message.
Note: user always can disable the bot
Note: Android device users will automatically recieve in-browser push widget. If accepted they will be also recieving push notifications via Chrome.
_____________________________
SEND MESSAGE MANUALLY
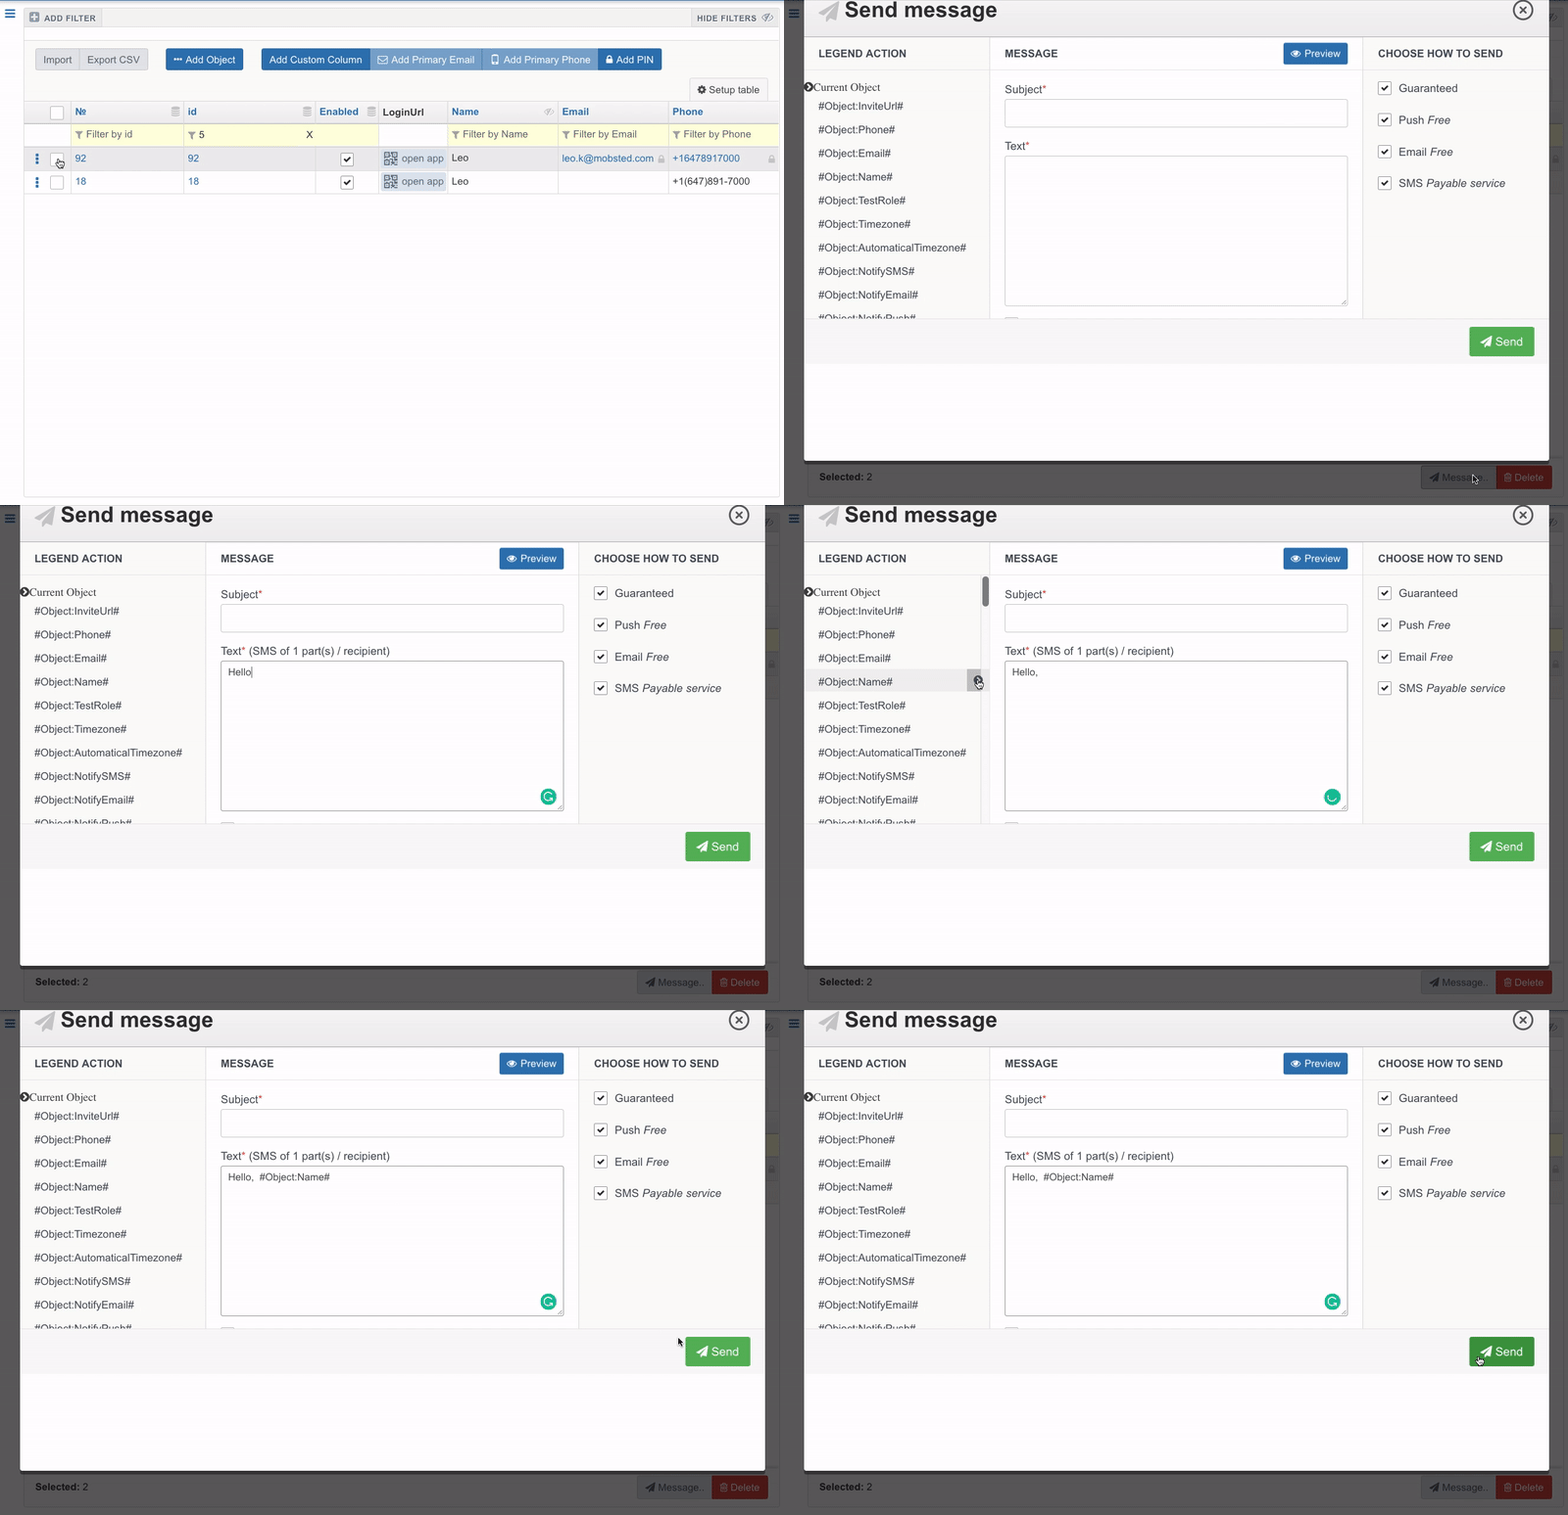
Go to Object section of the platform
Select 2 objects by checking the checkbox
Click Message. You will get to Send Message screen
Enter the message "Hello, "
From LEGEND ACTION section on the left select hashtag #Object:Name#. This way you get user name added to the text.
Click Send. Possible options: - Guaranteed: to make sure the message is delivered no matter what - Push: send as bots message and in-browser push for Chrome - Email: send as email - Sms: send as text message.
SEND MESSAGE AUTOMATICALLY
We create API operation and send personal message to users via different channels (email and text message).
How to set it up:
Go to Object section of the platform
Select 2 objects by checking the checkbox
Create API method to send message:
Navigate to My Profile Section in the top right corner

Go to Keys tab and copy Primary and Secondary Key to your favourite note app.
Navigate to API Providers Section and click "Add API Provider"
скрин шот API provider section
Fill in it's Name: "Mobsted" and Base URL: https://*yourTenantName*.mobsted.com
Click Save and then click Create New API Provider Method
Name the fields:
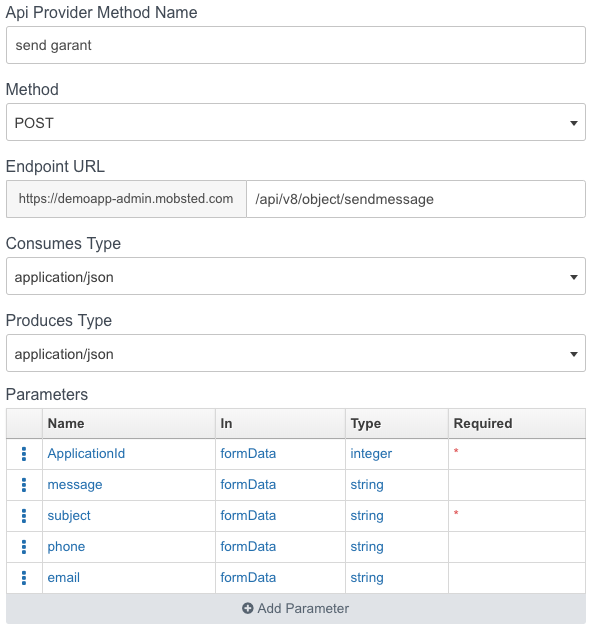
Api Provider Method Name: "send garant";
Method: PUT;
Endpoint URL: /api/v8/object/sendmessage
Consumes Type: application/x-www-form-urlencoded
Produces Type: application/json
7. Click Add parameters at the bottom of the pop up and fill in the fields:
Name: applicationId
In: query
Type: Integer
Description: Application ID
Check the box Required
Click Save Parameter
8. Click Add parameters again and fill in the fields:
Name: subject
In: query
Type: String
Description: Message Subject
Check the box Required
Click Save Parameter
9. Click Add parameters again and fill in the fields:
Name: "message";
In: query;
Type: String;
Description: "Message Text";
Click Save Parameter
10. Add one more parameter, named phone using the same settings as the message parameter
11. Click Save API Provider Method
Go to API KEYS tab and click Create New API Key
In the Pop up fill in the fields:
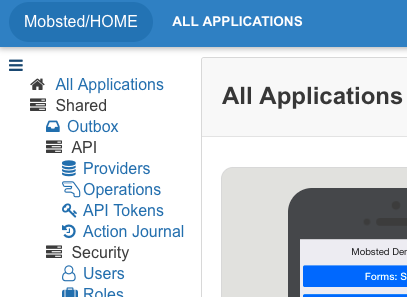
Api Key Name: "Mobsted Key"; Method: Basic; Key1 and Key2: copy paste the keys you've copied on step 2-b and click Save and then Close the pop up.
Click Operations on the Home Screen of your platform
Click "Add Operation"
From the dropdown on the left select send garant in the Mobsted Provider that we created on the previous step
Fill in the field: Operation Name: "Send Message";
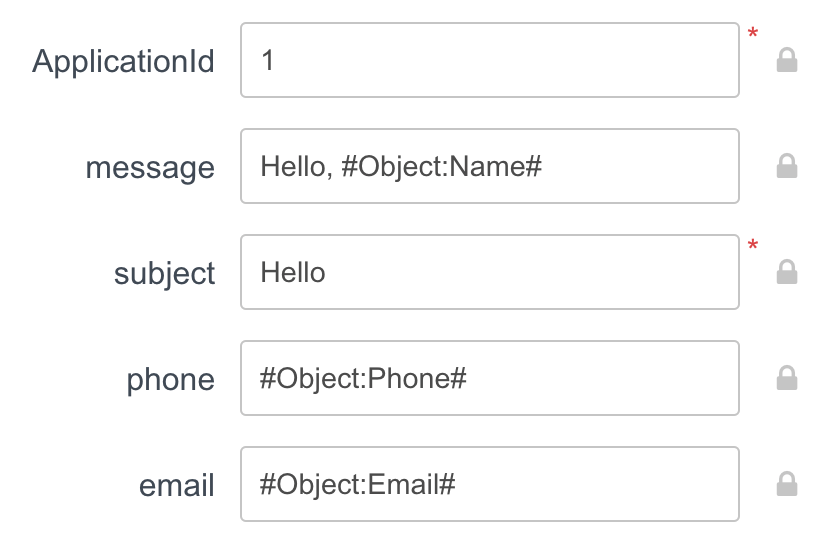
In the EXECUTION section fill in the parameters:
API Key: Mobsted Key;
applicationId: 1 (in our case);
message: Hello, #Object:Name#
subject: Hello
phone: #Object:Phone#
email: #Object:Email#
Click Save Operation
Display data on the App Screen
Navigate to constructor
Drag and Drop Button element, fill in it's properties, the Caption Button: "Send Hello Message"
Add an Action to the Button: select Execute Operations from the dropdown and select "Send Message" Operation in the next one and click Save
Check your work
Navigate to Objects section of the App
Launch the from the perspective of two Objects added earlier
Click the Send Hello Message button
The first App User should receive the message to the email, the second one - to his phone
GUARANTEED DELIVERY
All messages sent - either manually or automatically - can be sent via Guaranteed Delivery by default.
With Guaranteed Delivery messages are sent to user via various channels in the order of their priority (for example: messenger, email, sms), until the message is delivered. привязать к описанию в Push messages & Bots - как определять приоритеты.
MENTIONED ARTICLES
Objects
Connecting bots
Hashtags
Guarenteed delivery
Last updated
Was this helpful?