Loops - display multiple line results in app
Apply loops to screen elements
Use screen elements loops to display resulting arrays of filters and API requests on an app screen. Common example of such arrays is a list of items in a shopping cart or a list of payments.
The platform allows to create loops over:
Filter data [Step by step example →]
Operation data [Step by step example →]
In both these examples we will take the following steps:
Set up data source: Filter or Operation
Set up loop that will parse the data from the data source
Call the loop reference and extract its' data.
Before proceeding, please make sure that you are familiar with Hashtags.
Make sure you have accomplished the steps described Use automatic data filters article before implementing the steps below.
__________________________________
DISPLAYING DATA FROM FILTERS
At previous step we have created AgeEmail filter that shows users with Gmail account with the age less than specified. Here we create a loop to display Name and Age of all the filtered records.
Steps to take:
Navigate to Constructor
Create new screen by clicking Add New Screen at the bottom of the platform
Drag and Drop Text Input element
Set its' properties:
Backendname as Age
Default Value as #Variable:age#
Drag and Drop Button element
Set its' properties:
Backendname as Button
Caption Button as Less than Age #Backendname:Age#
Click Actions button and Add new action from drop down:
Set variable with the Name: Age and Value: #Backendname:Age#. Click Save
Add Go to action. Select Screen and in Choose screen drop down select the screen you are on now. This will reload the page. Otherwise the filter results will not be updated.

8. Drag and Drop Text element
9. Set it's text: Filtered Data:
10. Drag and Drop another Text element
11. Enable looping for that element - find LOOP in the right hand side menu and check Enabled box
12. Set up Data Source: #ObjectsFilter:AgeEmail:Data#, where AgeEmail is the name of our Filter
13. Enter Loop Name: AgeEmailLoop
14. Go to Text field of the element and set up what will be displayed in each element by pulling the required Object columns from the loop:
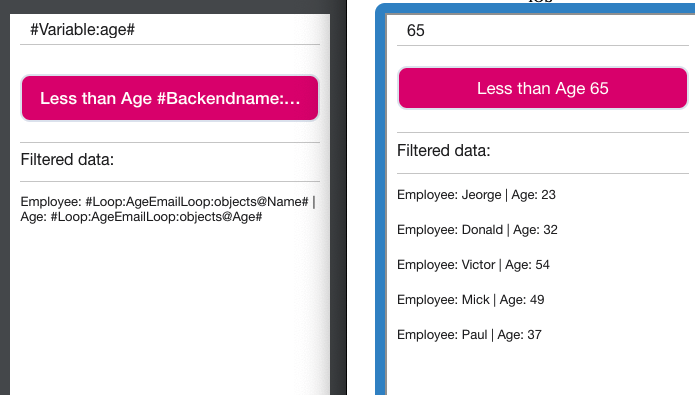
to display Name use Employee:#Loop:AgeEmailLoop:objects@Name#
to display Age use Age:#Loop:AgeEmailLoop:objects@Age#
15. Click Save Screen

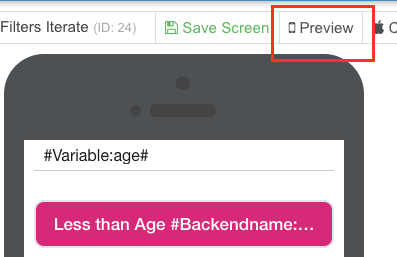
16. Click Preview button to launch app from the screen to check it works.


You can have a look at how it's implemented in Demo App in your account, screen - 9 Filters Iterate.
_______________________________________
DISPLAYING DATA FROM OPERATIONS
We have a screen, where a user can select a country from the drop down and see its' public holidays. For this example, we have pre-created API Operation to the 3rd party service.
Steps to take:
Drag and Drop Select element
Use Add Option and create a list of countries:
Label = USA Value = US
Label = Canada Value = CA
Label = Brazil Value = BR
Drag and Drop Button element
Set it's properties:
Backendname = holidaysButton
Caption Button = Check Holidays
Click Actions, select Execute Operations and add pre-created Holiday operation
Drag and Drop Text element
Enable looping for that element: find LOOP in the right hand side menu and check Enabled box
Set up Data Source for the loop: #Operation:Holiday:Response:Result:0:response:holidays#
Name the loop as Holidays
Go to Text field of the element and set up what will be displayed by pulling the required array elements from the loop (OPERATION):
#Loop:Holidays:name#
#Loop:Holidays:date:iso#

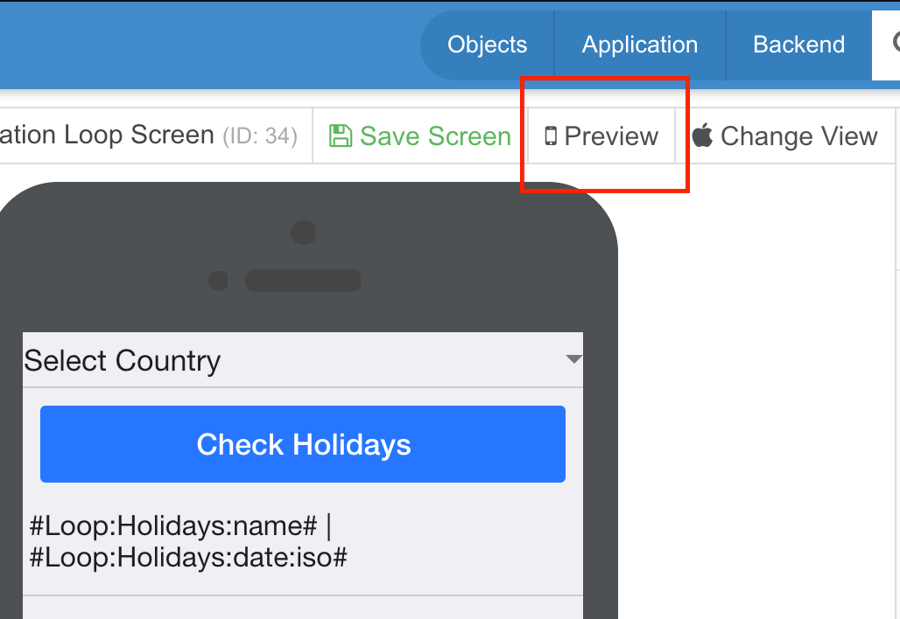
11. Click Preview button to launch app from the screen to check it works.


You can take a look at how it's implemented in Demo App in your account, screen - 13 Operation Loop Screen.
Note: we only use at sign (@) to reference Object properties (#Loop:AgeEmailLoop:objects@Age#). When referencing Operation, we use colons only (#Loop:Holidays:date:iso#).
MENTIONED ARTICLES
RECOMMENDED ARTICLES
Last updated
Was this helpful?